Quick and easy to install
We create wallpaper based on custom measurements provided at the time of order, ensuring a perfect fit for your wall. Since most walls are not perfectly straight, it’s essential to measure the wall at multiple points and always use the largest measurement for both length and height. We recommend adding an extra 10-15 centimeters to the wall dimensions to allow a safety margin that will be helpful during installation.
Our wallpaper is produced according to your specific measurements. Each sheet is numbered in the order it should be installed and includes alignment marks for correct and easy installation.

1
Surface Preparation
As a first step, you must remove any old paint or wallpaper.
Prepare your wall by filling in any cracks, small holes, and irregularities, as these would be visible once the wallpaper is installed.
Use a lamp to carefully inspect the wall and ensure it is smooth and even.
Wash the surface and make sure it is clean and smooth.
If the wall is absorbent (such as plaster walls, walls with old wallpaper, drywall, or similar), apply a coat of primer or diluted glue to limit glue absorption during installation.
If the wall has strong colors or color variations that may show through the wallpaper, apply a coat of white paint.
Begin installation only after the wall is completely dry.

2
Pre-Pasting the Wall
If the wall is porous (such as plaster walls, drywall, or similar), a primer or a diluted layer of glue should be applied before installation.
Apply the glue evenly across the wall, avoiding clumps or areas with excess glue.

3
Reference for the First Sheet
The first sheet is crucial for ensuring a correct installation.
Try to be as precise as possible to ensure it is mounted straight.
To achieve this, make a barely visible vertical line or markings with a pencil at a distance of 60 cm (first measure your roll, as the measurement may slightly differ) from the start of the wall, using a level or measuring tape.
You will need to install the first sheet according to your references.
Remember to keep the marks light to avoid them showing through the wallpaper.

4
Adhering the Sheets
Lay out the first sheet and apply plenty of glue to the wallpaper.
Wait a few minutes to allow the glue to soak well into the back of the wallpaper.
Remember that for particularly porous walls, it is necessary to apply a coat of primer or diluted glue on the wall as well (see step 2).
You can fold the sheet in on itself (glue side in) for convenience during the positioning phase on the wall.

5
Placing the Sheets
Position the first sheet, aligning it with the previously made lines.
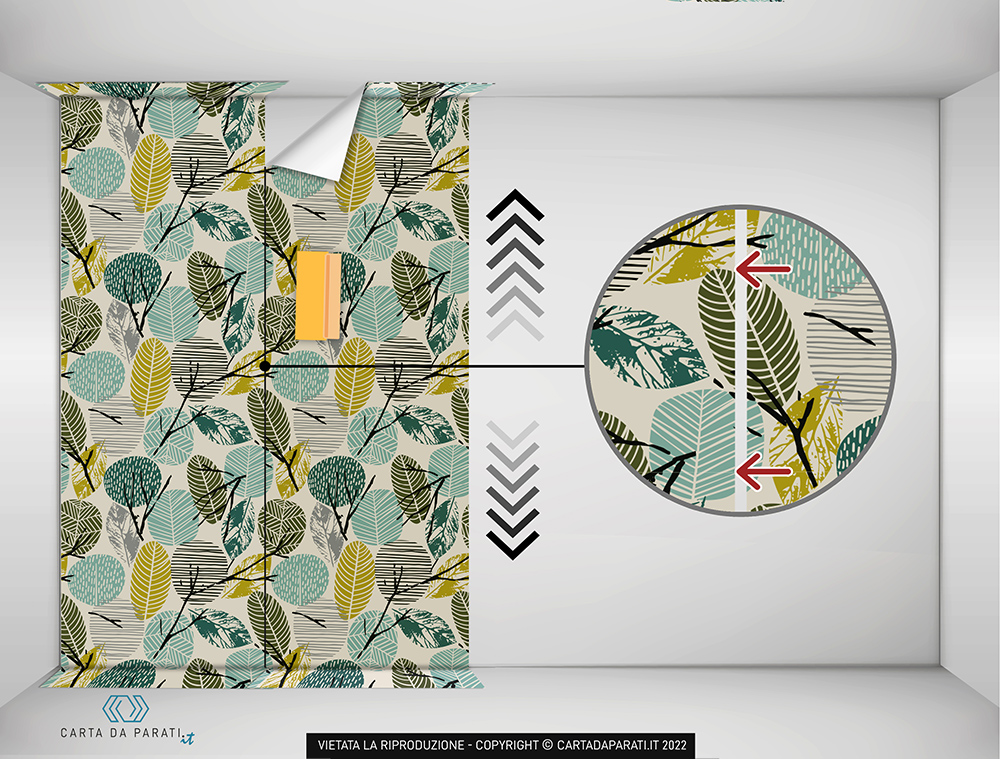
Use a spatula or a brush to press and smooth the wallpaper, using horizontal movements from the center towards both edges.
Avoid wetting the wallpaper from the printed side, as this could cause later stains.

6
Placing Subsequent Sheets
Install the second sheet following the same procedure as the first (except for the markings), making the necessary adjustments to ensure the pattern matches the previous sheet and being careful not to let glue drip onto the already installed sheet.
The sheets should not overlap.
Avoid getting glue on the front of the wallpaper to prevent stains after drying.

7
Attention to the Joints
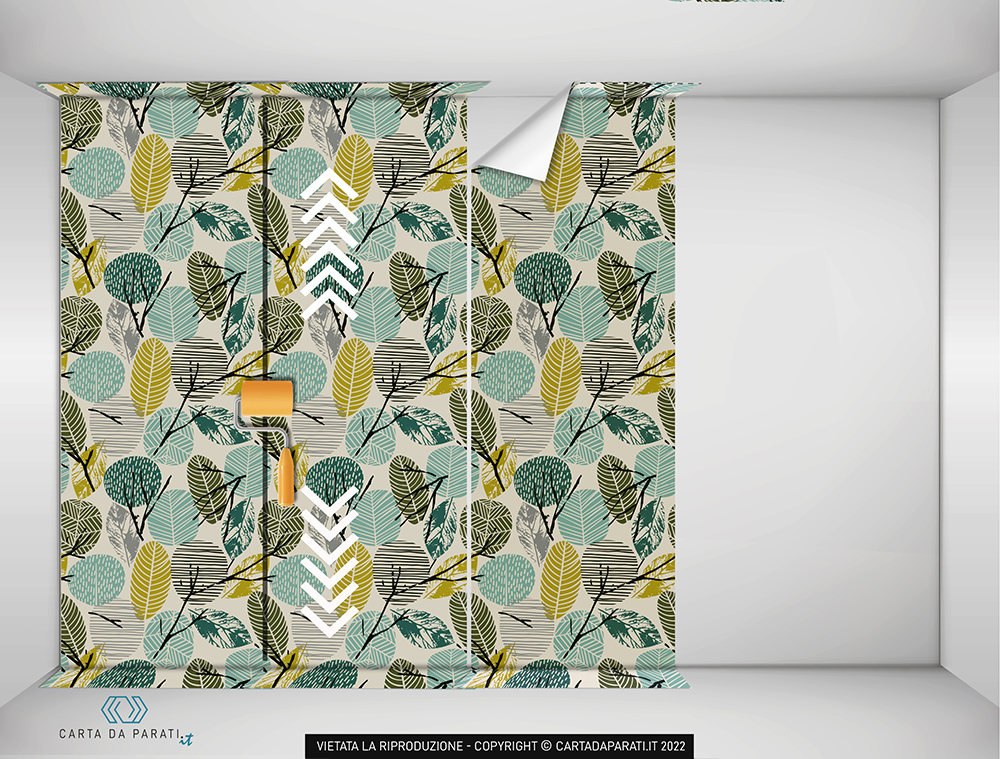
Once the sheet is placed, make sure to press them firmly at the joints before installing the next one.
Use a roller for better results.

8
Placing the Last Sheet
Install the last sheet following the same procedure as the previous sheets.
Extend the wallpaper towards the corner of the other wall as well.
Be careful not to apply glue on the unaffected wall.

9
Trimming Excess Material
Trim the excess material using a spatula or a wallpaper ruler to press the top and bottom edges.
Cut carefully with a sharp utility knife to avoid tearing or fraying the wallpaper.


